Network-wide MikroTik RouterOS upgrade with Unimus
Keeping the firmware/software of your networking equipment up to date is important. Learn how to do a network wide mass upgrade of MikroTik RouterOS with the network automation and config push features present in Unimus.

Let's face it - doing a network-wide roll-out of a new version of software for your switches or routers is painful and takes a LOT of time. However, it is absolutely necessary to keep the firmware/software of your networking equipment up to date.
Recently, MikroTik has had a series of severe vulnerabilities. More details can be found here and here. But MikroTik is not alone in this. Cisco also recently had a bad ASA vulnerability (info here), and just last year Ubiquiti had a massive exploit which brought down many networks around the world (more details).
This article will focus on MikroTik - we will show you how you can do a network wide mass upgrade of RouterOS using Unimus, and the RouterOS Package Source feature. What's even better, doing the entire upgrade process (including setup of Unimus and RouterOS Package Source) can be done in under an hour.
Topology of our test network
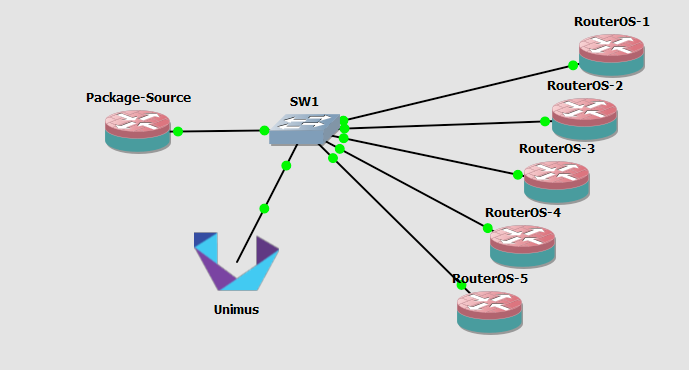
The topology for the network we will be testing on is simple:
- we have a Package Source (which is just a normal RouterOS device - for this demo a CHR)
- then we have 5 MikroTiks we want to update RouterOS on
- and finally we have our Unimus system
Configuring the RouterOS Package Source
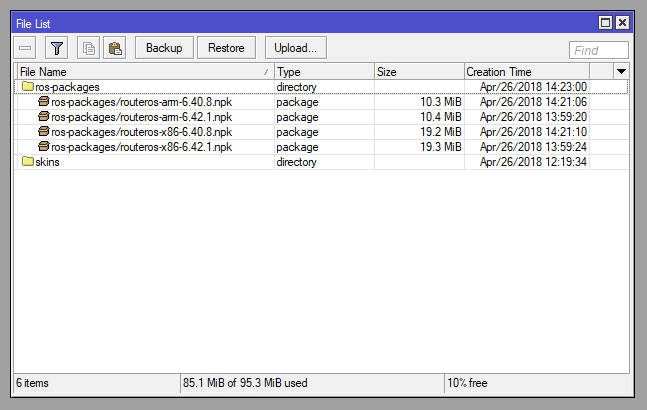
The Package Source will be a MikroTik CHR for this demo. To make this CHR a package source for all our other MikroTiks, we first need to get the packages we are interested in. You can get packages from the MikroTik download page. For this demo, I just downloaded the latest packages for ARM and x86.
After you get the packages, you can upload them to your package source router using SCP. I created a ros-packages directory, and put them there.
And that's actually everything you need to do on our Package Source "server".
Configuring Unimus to talk to the devices we want to upgrade
For this article, we assume that you have an empty, but fully deployed Unimus instance ready. If you don't, you can get Unimus from our downloads page, and we have guides on our Wiki here and here that will help you deploy Unimus.
First we need to make sure we have proper credentials in Unimus which we will be using to connect to our routers. You can check this in the Credentials screen. If the proper credentials are present, we need to add our devices into Unimus. We can use the address list import to make this happen.
You can go to Basic import > Address list import and just paste in the list of IPs.
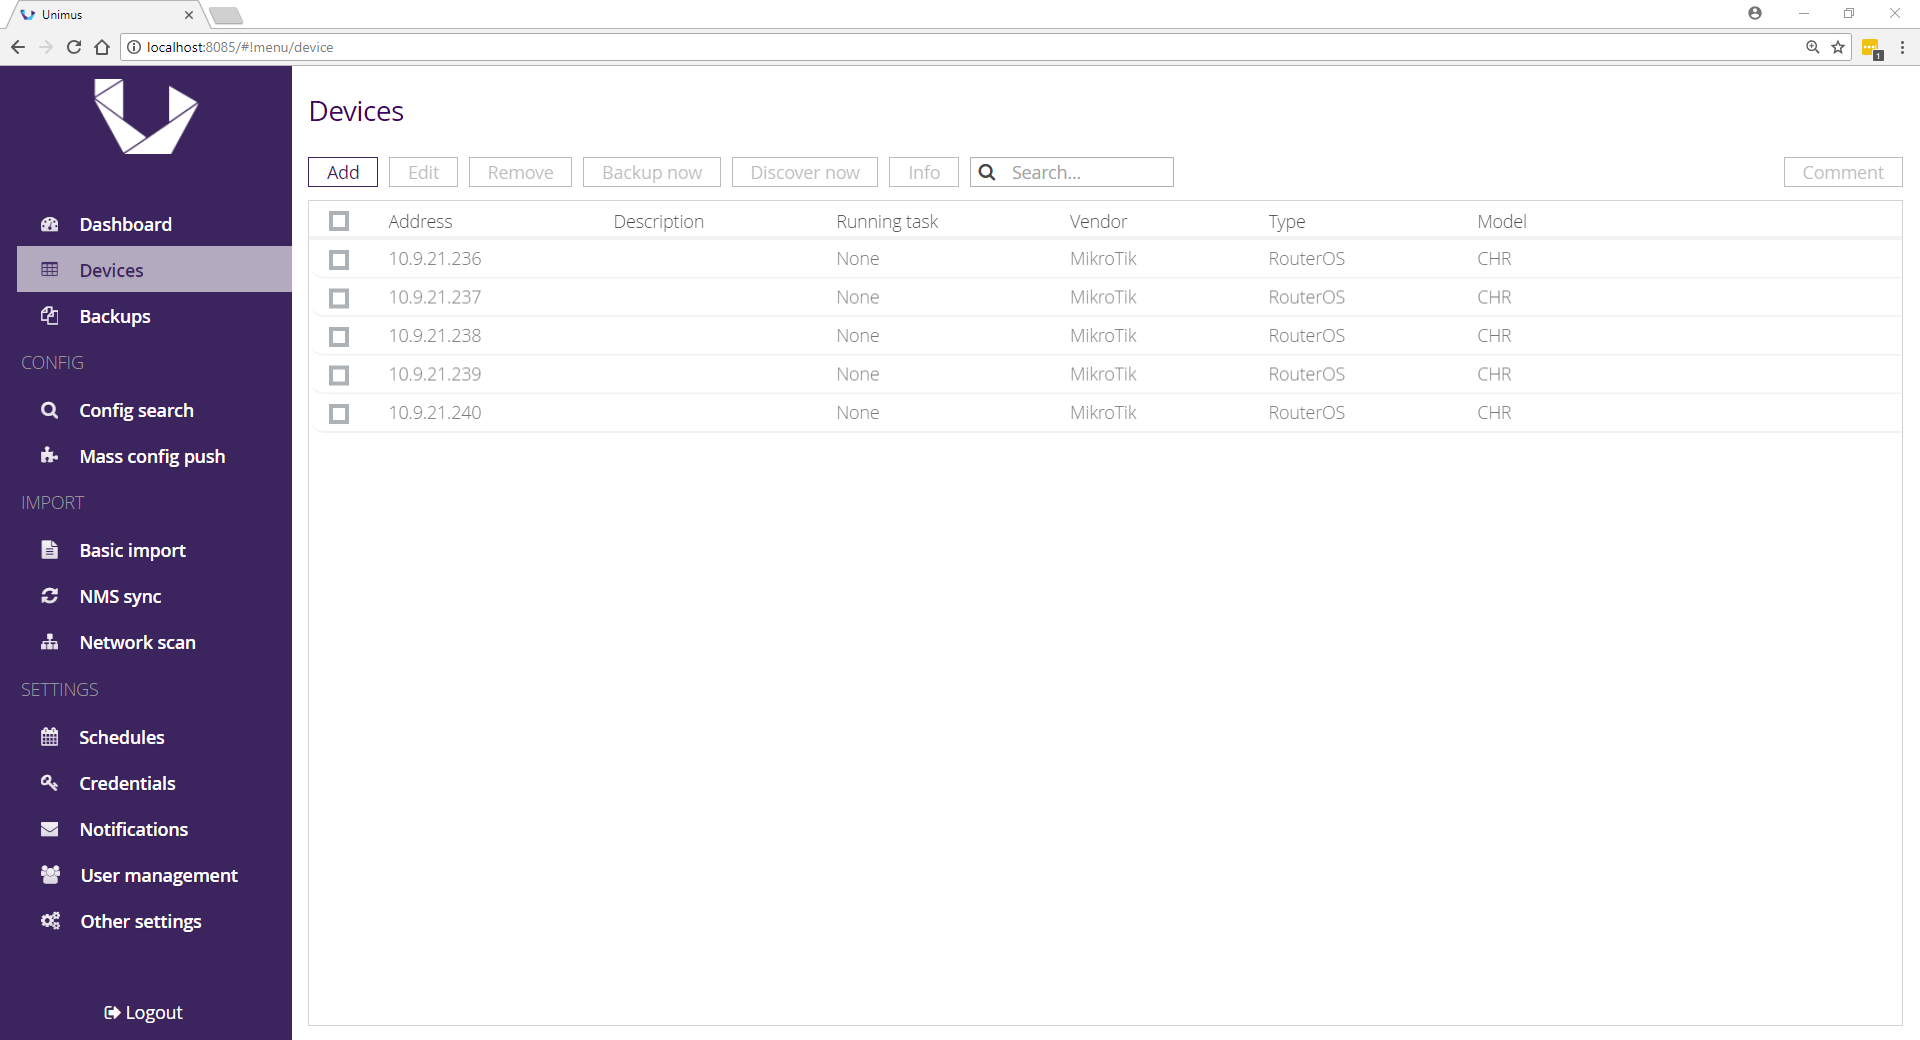
Unimus should discover your devices, and you should see them properly in the Devices screen.
Before we go any further, it's a good idea to make a backup of the configuration on your routers (in case the routers don't survive RouterOS upgrade for some reason). Unimus normally backs device up on a schedule (by default at 3AM every day), but since we just added our devices, lets make a manual backup. Simply select all your devices, and do Backup now.
Pushing Package Source settings to our network
Before we can perform a mass-upgrade, we need to configure our entire network to use our package source. We will need to create a config push preset in Unimus. Go to the Mass config push > Add preset screen. Give it a name and a description, and bind all of your MikroTiks to this preset (using Select devices > Not bound devices > Bind). Then save the config push preset.
After you created your preset, you can open it (clicking on it in the Mass config push screen). The commands we will be pushing are these:
/system upgrade upgrade-package-source
add address=10.9.21.235 user=admin
password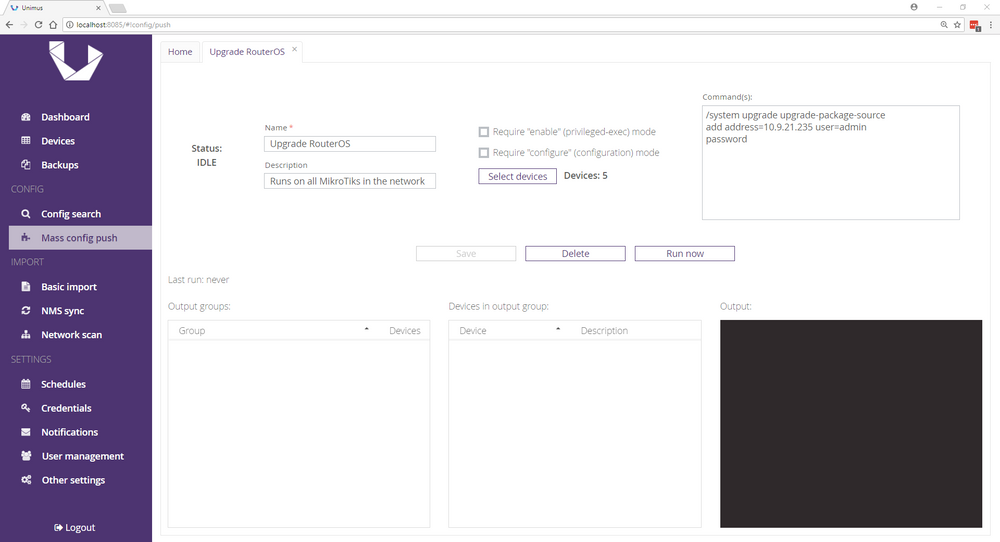
You will need to adjust the address and username/password here. The address will be the address of our Package Source, and username/password to use to log into it. Now we can save and run our config push (use the Save and Run now buttons).
You should see one output group when the push finishes. If there are any errors, you can check the error output groups to see on which devices the errors occurred.
Performing a network-wide RouterOS upgrade
Now that the configuration to use our package source has been distributed to our network, we can perform a mass upgrade. Change the commands for your config push preset to:
/system upgrade
refresh
:delay 5
print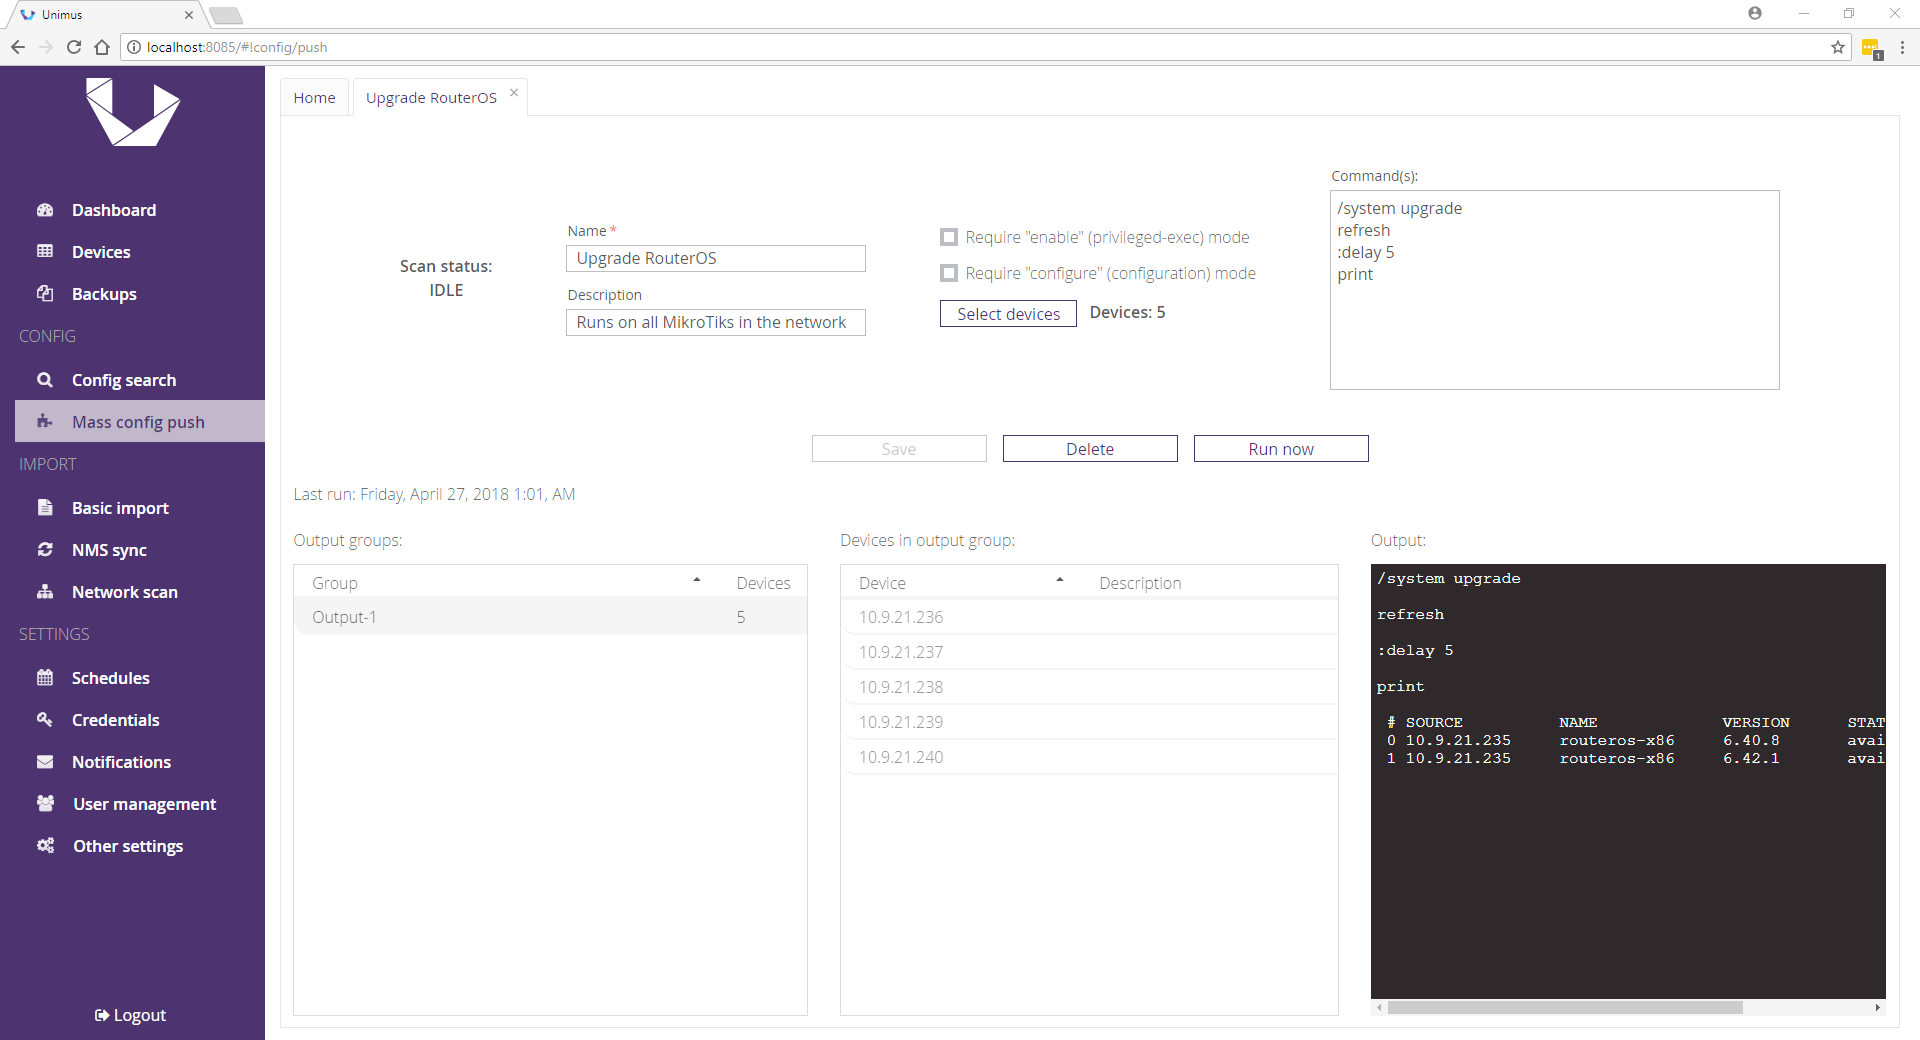
And now run the config push. This will cause all MikroTiks to check the package source for upgrade, and print out the available packages.
Please inspect the output groups of this command when running on your network.
You can have multiple output groups (due to different architectures that RouterOS supports), but you should have no errors, and all output groups should see newest RouterOS packages available.
If everything is in order, we can pull newest packages to all our routers. Change the commands for your config push preset to:
/system upgrade
download [find version=6.42.1]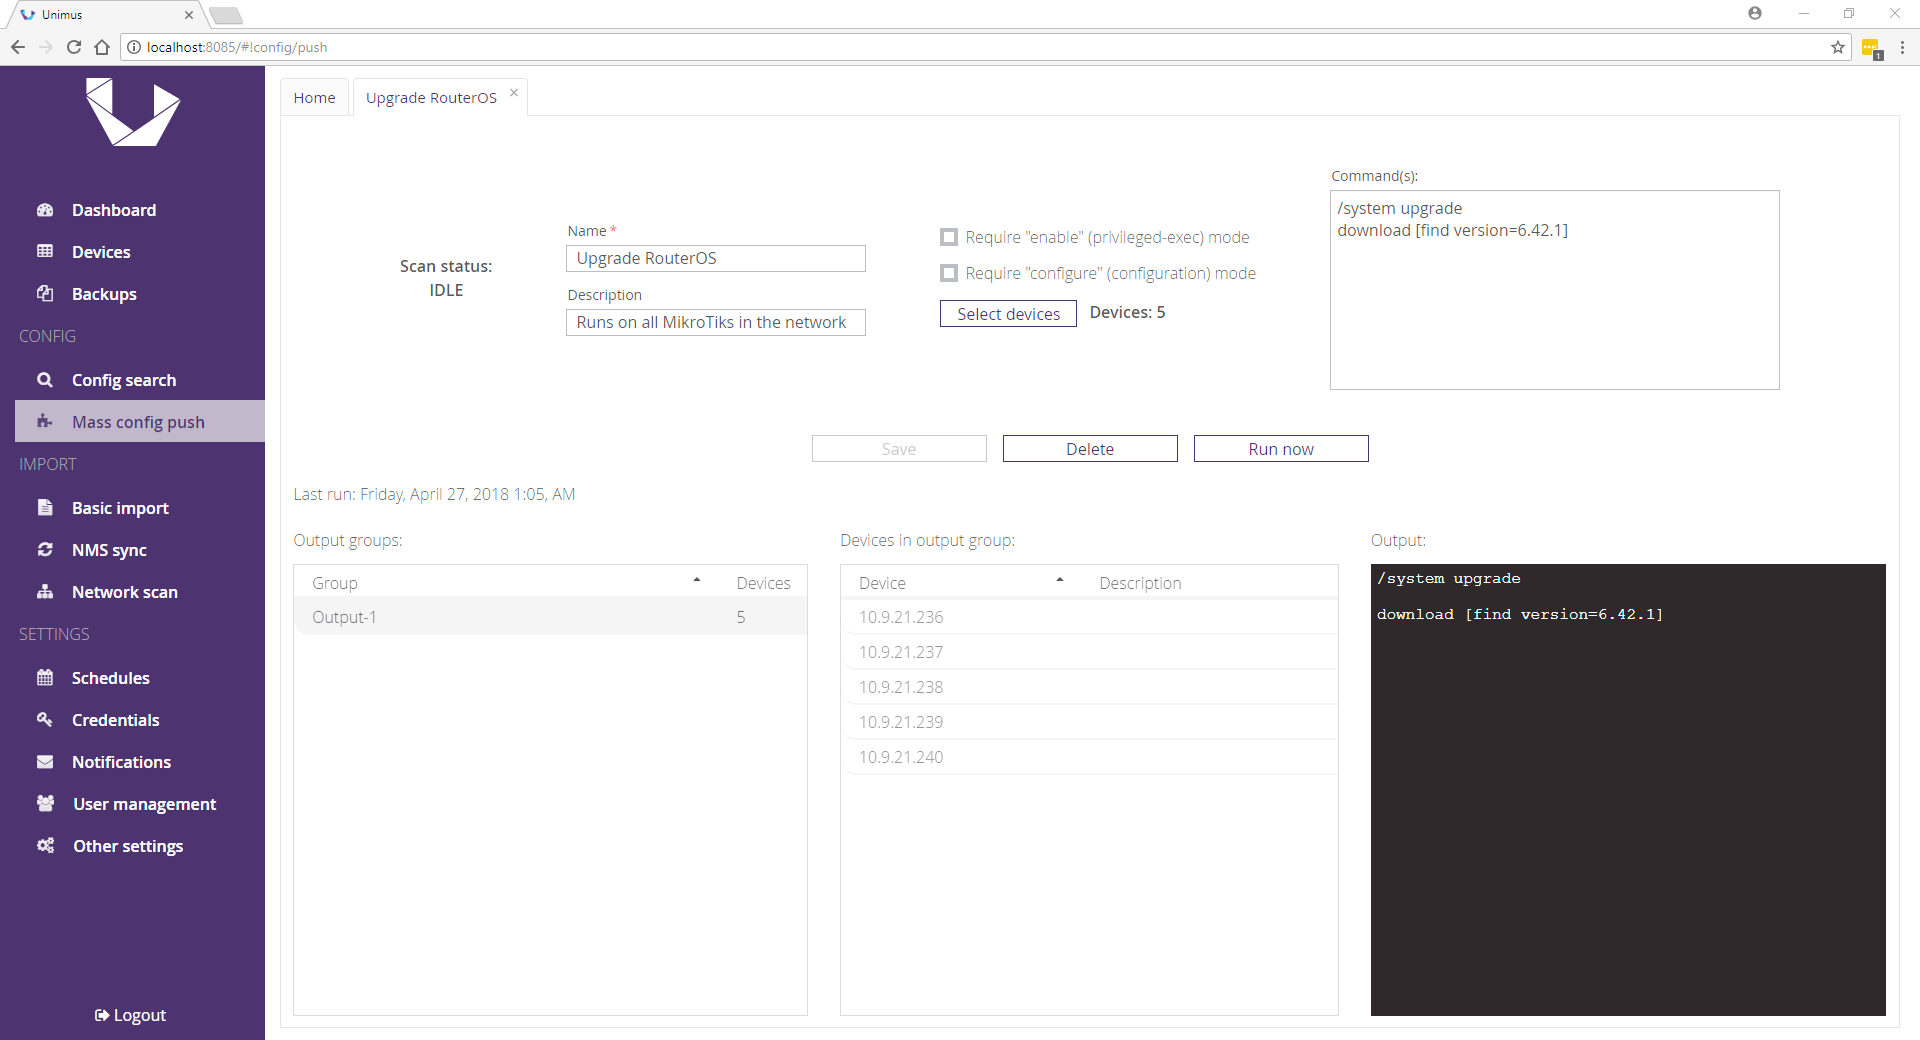
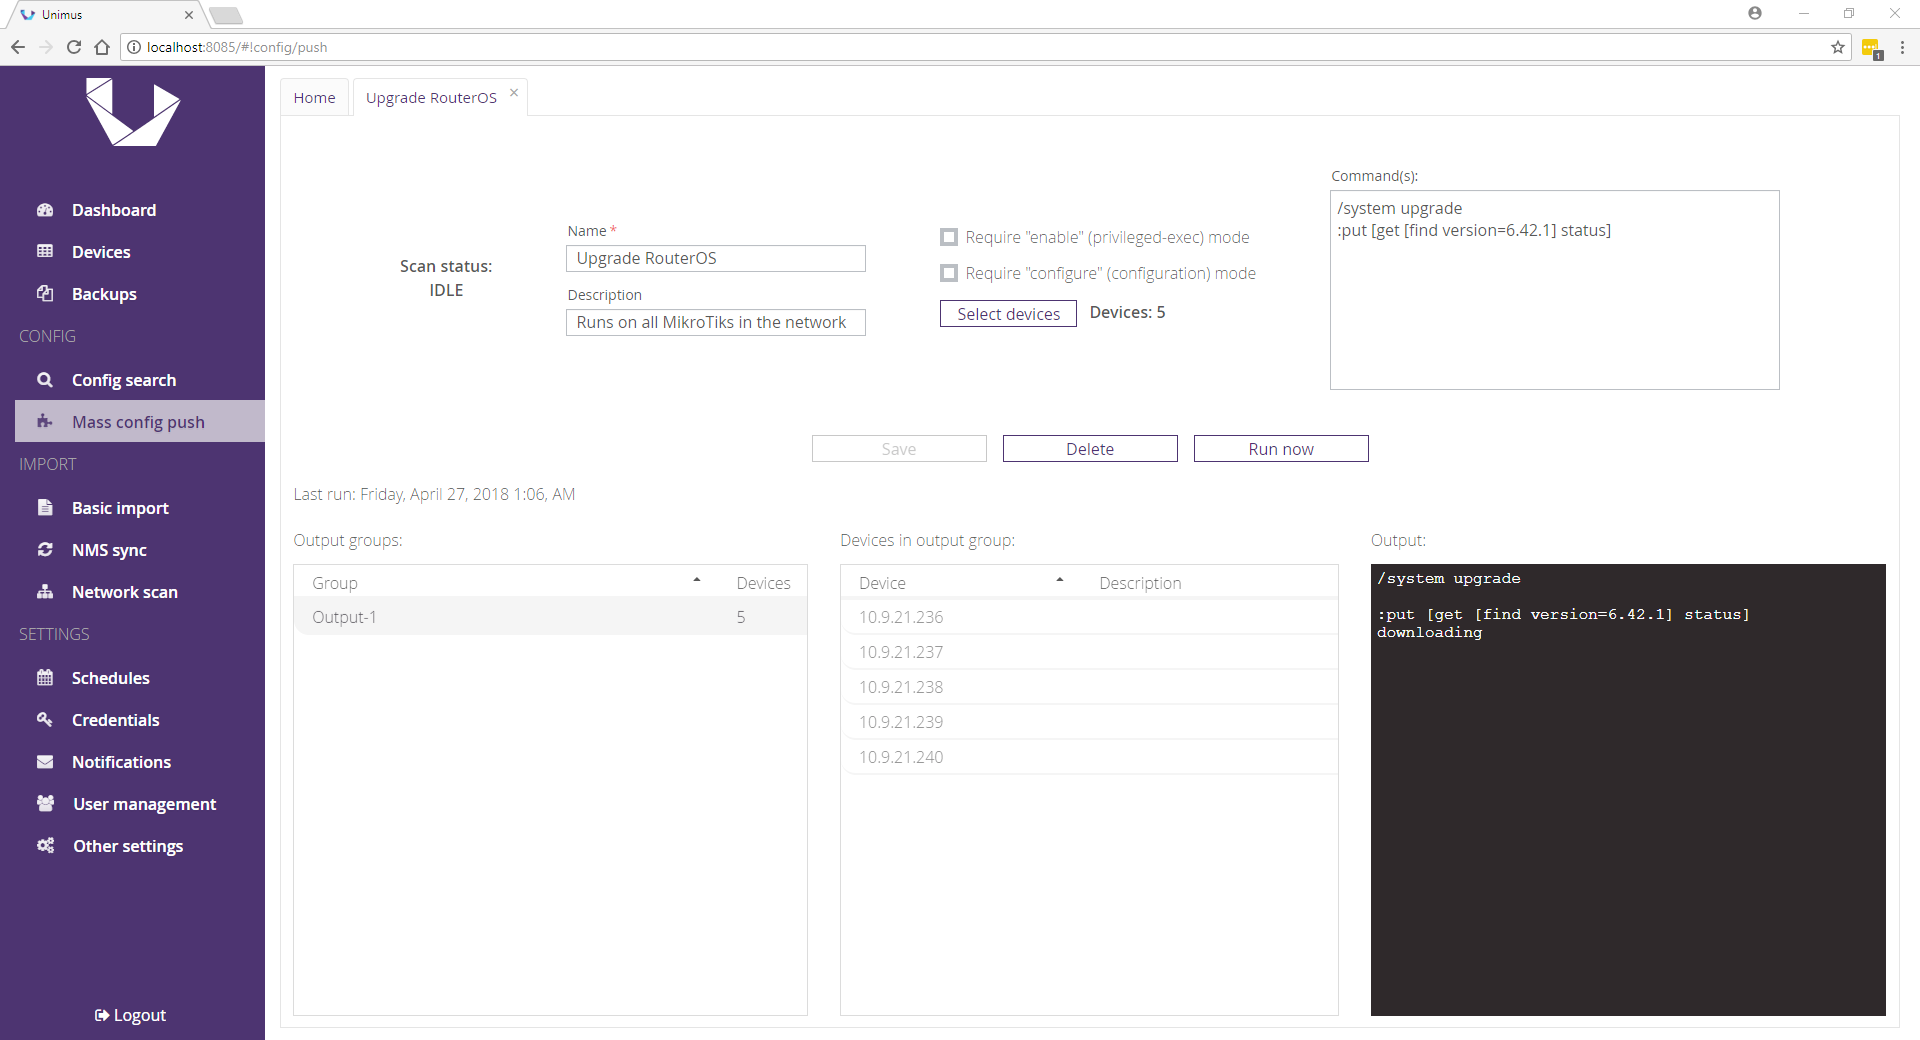
This will tell all our MikroTiks to pull our package from the package source. Please note that in bigger networks, this will take a while. You can always check when all of your MikroTiks are done with the commands:
/system upgrade
:put [get [find version=6.42.1] status]
Running this would give us different output groups based on if the router is already finished downloading the upgrade package, or if the download is still in progress.
After all your routers downloaded your package, they simply need a reboot to install it. Change the commands for your config push preset to:
/system
reboot
y
And push that to the routers. They will reboot and should come back up with the latest RouterOS.
Final words
Please remember to also update RouterBOOT (the firmware / Bootloader of RouterBOARDs).
You can do this just by changing the push preset we created in this guide and pushing the appropriate commands to your RouterBOARDs.
If you are new to Unimus, check out our website to learn more about us!
We are offering an unlimited trial license if you want to give Unimus a try (independently of our free tier)! Click here to learn more!